You know that oddly unhelpful pop-up - “it seems you haven’t provided any text to translate. please provide the text you’d like translated into united kingdom english.” - the one that appears when you try to use a tool without giving it what it needs. “certainly! please provide the text you would like me to translate.” sounds polite, but it’s basically the same message: your input is missing, so the output can’t be right. A lot of DIY window insulation fails for the exact same reason, and it costs you warmth, money, and patience.
On a cold evening, you can feel it immediately: that faint “moving air” at the edge of the frame, the curtain that never hangs still, the radiator working overtime for a room that won’t hold heat. Most people respond by adding more insulation - thicker film, extra tape, another draft excluder - and still wonder why the window feels leaky.
The hidden mistake isn’t that you didn’t buy the right product. It’s that you insulated the wrong problem.
The hidden mistake: insulating glass when the leak is the air gap
Heat loss through windows is a mix of conduction (through glass and frame), radiation (the “cold window” feeling), and - the one people underestimate - air leakage. If you have a draught, your first job isn’t “make the glass warmer”. It’s “stop uncontrolled air movement”.
Experts see the same pattern in homes again and again: people apply secondary glazing film neatly across the pane, then leave the real leak untouched - the tiny gaps around the sash, the corner joints, the trickle vents, the meeting rails. The film looks convincing, but the room still feels cold because cold air is still entering (and warm air is still escaping).
A useful rule of thumb: if you can feel a draught, you have an air-sealing problem before you have an insulation problem. Fixing conduction without fixing leakage is like putting a thicker coat on while the front door is open.
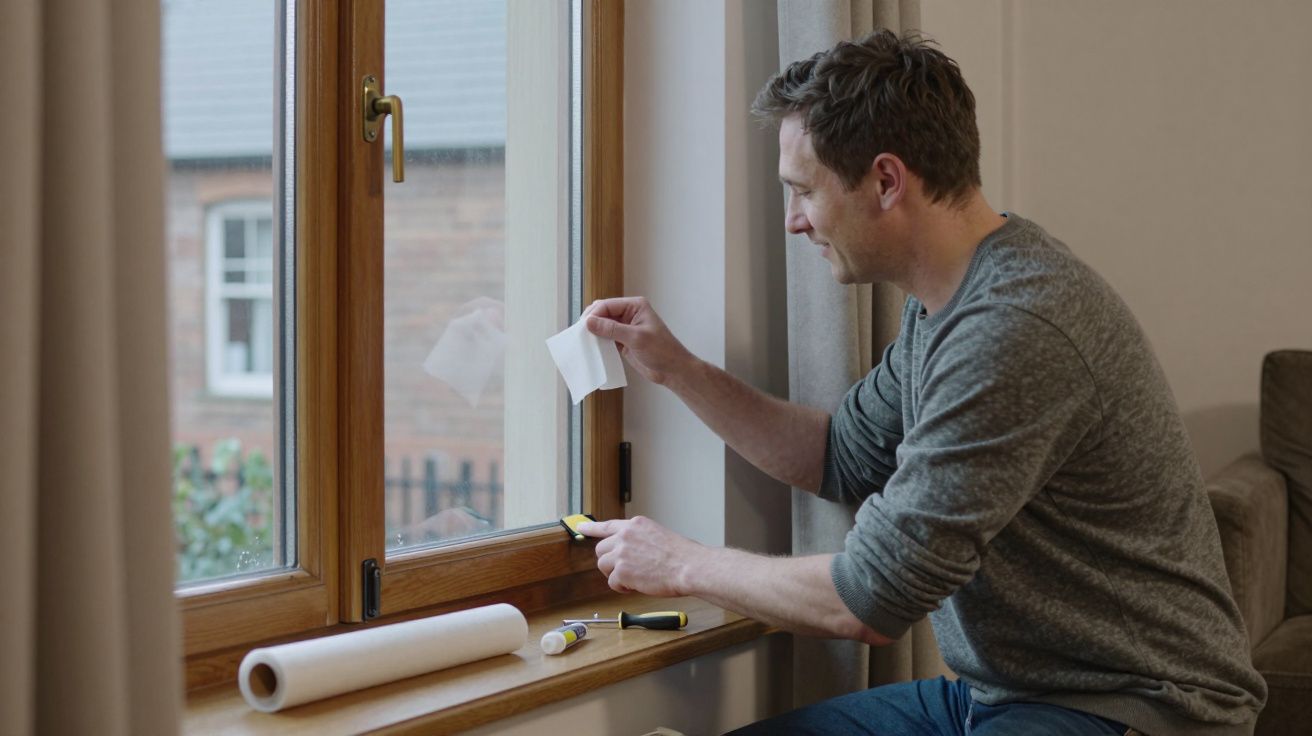
A quick way to spot where your insulation is failing
You don’t need specialist kit to get a strong answer. You need a calm day, five minutes, and a willingness to be slightly nosy about your own window.
Try this simple check:
- Use the back of your hand and move slowly around the frame, not the centre of the glass. Feel for cold streams at corners and along opening sections.
- Look for movement: a lightweight tissue or a strand of thread held near the seals will flick if air is moving.
- Check the “meeting points”: where sash meets sash, where the opener meets the frame, and the bottom edge near the cill.
- Don’t forget the wall edge: cold air can track from gaps between frame and plaster, especially on older installs.
If you find one strong draught point, that’s usually doing more damage than the entire pane.
What to do instead: seal first, then insulate (in that order)
Once you’ve found leakage, the fix is usually less glamorous than a new glazing product - but it’s the part that actually changes comfort.
Here’s the hierarchy professionals tend to follow:
- Stop the air leaks at the moving parts
- Replace tired brush seals or compression seals on openers and sashes.
- Adjust latches so the window actually pulls tight when closed.
- Seal the frame-to-wall gap
- If there’s a visible crack where frame meets plaster, use a paintable sealant indoors.
- If there’s a bigger void, it may need low-expansion foam and finishing properly (this is where “quick fixes” can get messy fast).
- Then add a thermal layer
- Secondary glazing film, magnetic acrylic panels, or heavy lined curtains work far better once air movement is controlled.
Common trap: using standard DIY tape where you need a compressible seal. Tape can look perfect for a week, then lift, wrinkle, or leave micro-gaps at corners - and those corners are exactly where pressure differences pull air through.
“If you insulate the pane but ignore the perimeter, you’re polishing the bonnet while the engine’s leaking oil.”
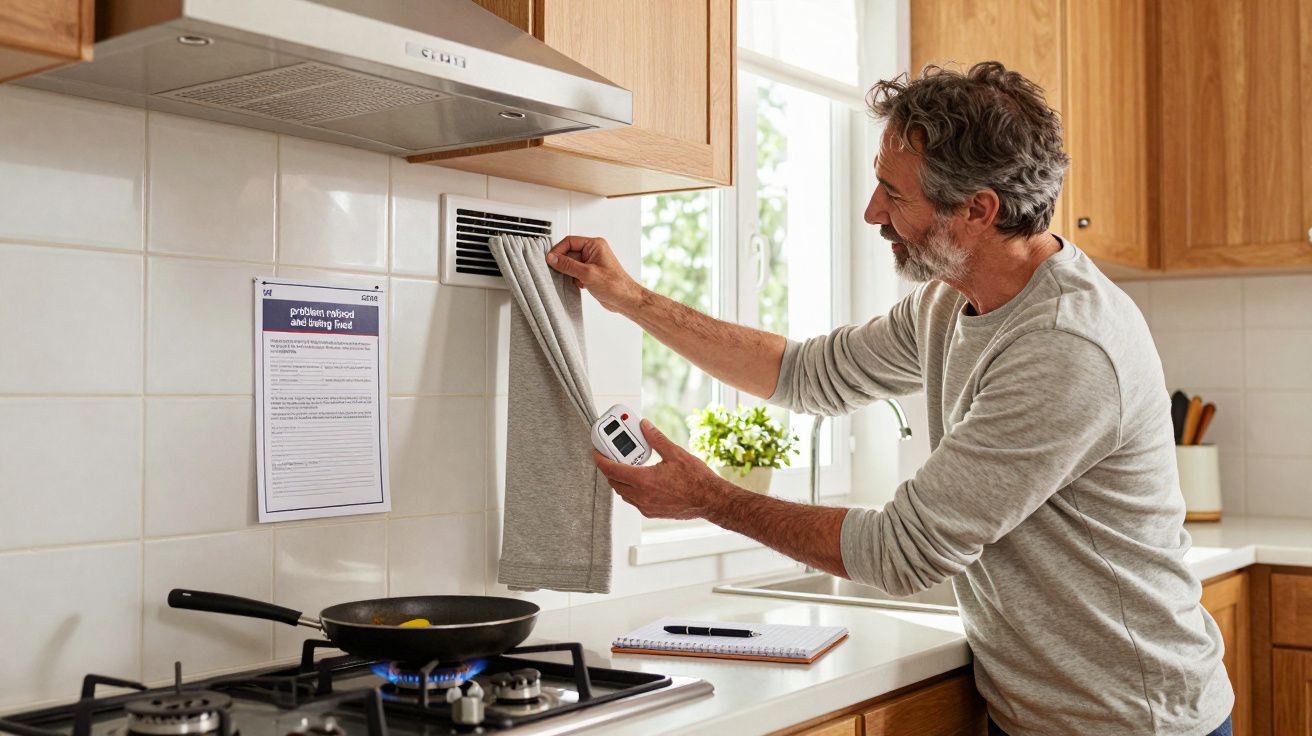
The other quiet culprit: trapping moisture and creating a new problem
There’s a second mistake that often travels with the first: sealing in a way that creates condensation. When you make a window more airtight (even accidentally), indoor humidity can no longer escape as easily - and cold surfaces start collecting water.
This is why some people apply film or thick curtains and suddenly see:
- water beading along the bottom of the frame,
- mould beginning in the corners,
- paint bubbling on the sill.
The fix isn’t “remove all insulation”. It’s to balance sealing with sensible ventilation: keep trickle vents functional where appropriate, use extractor fans, and manage indoor humidity (especially in bedrooms and kitchens). Warm, dry air feels warmer because it reduces that clammy, heat-sapping effect.
A simple “do this, not that” guide for common UK window types
Different windows fail in different ways. Aim your effort where it matters.
- uPVC casement windows
- Do: check the rubber gasket isn’t flattened or torn; ensure the locks pull the sash tight.
- Not that: rely on draft tape across the opening edge (it often stops the window closing properly).
- Timber sash windows
- Do: add brush pile seals at the parting and staff beads; check cords and alignment.
- Not that: seal the sash shut permanently if you still need ventilation - you’ll pay for it in condensation.
- Older metal frames
- Do: prioritise secondary glazing panels plus careful perimeter sealing.
- Not that: expect stick-on fixes to last if the frame is cold, uneven, or slightly corroded.
If you only do one thing this weekend, do the perimeter check and address the worst leak. The comfort change is usually immediate.
| What you notice | Likely cause | Best first move |
|---|---|---|
| “Moving cold air” near the frame | Air leakage at seals/joints | Replace seals, adjust closure, seal frame edge |
| Room feels cold even without a draught | Radiant chill / poor glazing | Secondary glazing, lined curtains, blinds |
| Condensation and mould after “upgrades” | Airtightness + high humidity | Ventilation, extraction, manage moisture |
What changes when you fix the real leak
The room stops feeling “restless”. Curtains hang more still. The thermostat becomes less dramatic - fewer swings, fewer moments where you crank it up just to feel comfortable. And the best part is psychological: you stop fighting the same window every winter with new layers of stuff that never quite works.
Proper sealing doesn’t need to be perfect to be meaningful. It needs to be targeted, repeatable, and focused on where air actually moves. Let’s be honest: nobody really does a whole-house seal audit in one weekend. But one window, one leak, properly fixed? That’s how warm homes get built in real life.
FAQ:
- Is window film worth it? Yes, but it works best after you’ve stopped draughts around the frame; film can’t compensate for air leakage.
- How do I know if it’s a draught or just a cold surface? A draught feels like moving air (tissue test helps). Cold glass feels “radiant” but still.
- Will sealing windows make condensation worse? It can if indoor humidity is high. Pair sealing with good ventilation and extraction, especially in kitchens and bathrooms.
- What’s the quickest win for old sash windows? Brush seals at the meeting rails and beads typically deliver the biggest comfort improvement without changing the look.
- When should I call a professional? If the frame-to-wall gaps are large, the window doesn’t close square, or you suspect failed installation around the frame.


Comments (0)
No comments yet. Be the first to comment!
Leave a Comment